Love Your Machine and it Will Love You Back, by Guest Blogger Stella from Purfylle
I’m so honored to be guest posting today at Gina's Craft Corner. I met Gina on a sewing forum and we discussed the quirks of sewing machines. When she asked if I would like to write a guest post (umm, YES!) I figured machine quirks was a topic that would fit both our blog styles.
I have more sewing machines than I can fit in my sewing room and find myself having to do machine maintenance a lot. So if your sewing machine has been behaving a little quirky lately and you'd really rather it wouldn't, these tips might help.
______________________________________________________________________________
How often do you clean and oil your sewing machine?
Do you know what tools to use and which bits to clean or do you leave it for the professionals when you have your machine serviced? A lot of us don't do this simple maintenance task for our treasured machine because it seems so daunting and out of our sphere of experience and skills.
Here are some reasons why you should clean and oil your sewing machine.
Regular maintenance;
So how often should you clean and oil your machine?
Every time you use it. Yes, that's right, every time. Don't worry, it's much easier and faster then you think and the benefits really are worth the effort.
A note on safety. When cleaning your sewing machine you don't want to press the presser foot accidentally because you don't want those parts moving when you're poking around with them. If you can disconnect your presser foot so you can leave the machine light on, do so, if not you will need to turn your machine off and use a lamp or torch.
Clean in 3 easy steps...
Step 1.
Remove all visible dust;
Dusting tips:
Step 2.
Oiling tips:
_______________________________________________________________________________
Thank you so much for letting me blog at GCC today, I'd love to see you over at my blog Purfylle, you might like to check out my new series Maintenance Monthly.
Stella Lee
 |
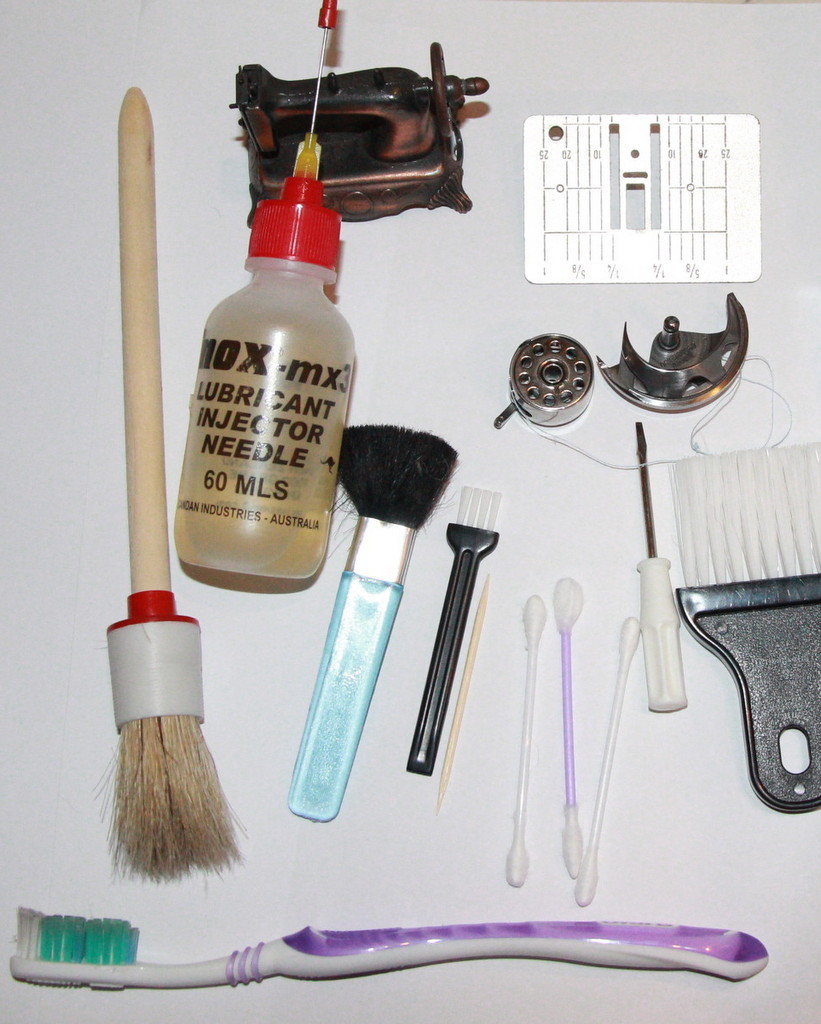
| various brushes, cotton tips, toothpick, mineral oil, screw driver, stitch plate, bobbin case (with bobbin), bobbin race |
I have more sewing machines than I can fit in my sewing room and find myself having to do machine maintenance a lot. So if your sewing machine has been behaving a little quirky lately and you'd really rather it wouldn't, these tips might help.
______________________________________________________________________________
How often do you clean and oil your sewing machine?
Do you know what tools to use and which bits to clean or do you leave it for the professionals when you have your machine serviced? A lot of us don't do this simple maintenance task for our treasured machine because it seems so daunting and out of our sphere of experience and skills.
Here are some reasons why you should clean and oil your sewing machine.
Regular maintenance;
- improves the stitch quality (often a clean is what is needed to fix that 'tension problem'),
- reduces the instances of thread breakages and jams (saving your sanity),
- improves the longevity of your sewing machine (saving you money),
- increases the time needed in between servicing (saving you time and money),
- increases the life span of your needles and bobbin cases (saving you from a trip to the fabric shop where you know you will buy fabric you don't need, saving you money),
- reduces the wear on parts (saving you money).
So how often should you clean and oil your machine?
Every time you use it. Yes, that's right, every time. Don't worry, it's much easier and faster then you think and the benefits really are worth the effort.
A note on safety. When cleaning your sewing machine you don't want to press the presser foot accidentally because you don't want those parts moving when you're poking around with them. If you can disconnect your presser foot so you can leave the machine light on, do so, if not you will need to turn your machine off and use a lamp or torch.
Clean in 3 easy steps...
 |
| lifting the stitch plate but forgetting to remove my needle |
 |
| feed dogs showing plenty of fluff |
 |
| how does it get so dirty? |
 |
| opening the bobbin housing gate reveals more dust |
Remove all visible dust;
- from around the needle and needle bar
- pop out the stitch plate and dust under there and around the feed dogs
- take out the bobbin and the bobbin case - dust the bobbin case and housing (the housing is where the bobbin was before you removed the bobbin)
- any other dust you see
Dusting tips:
- it's best to avoid using compressed air as it can blow dust into the machines internal mechanisms
- use a clean paint brush or make-up brush for removing the bulk of the lint
- use a second (cleaner brush) and dust everything again for a thorough job
- use cotton tips to get into small areas
- use a toothpick to get into any grooves (don't use a pin or needle or anything metal as it can leave scratches)
- remove your needle and presser foot to make it easier to remove your stitch plate
- a half turn of your balance wheel will move your feed dogs into the up position giving you a bit more room to dust underneath them (that's the wheel thingy you use to lift your needle up and down on the right hand side of your machine.)
Step 2.
Oil all parts where metal touches and moves against metal, including;
- the needle bar (that's the bit that holds your needle and you see moving up and down)
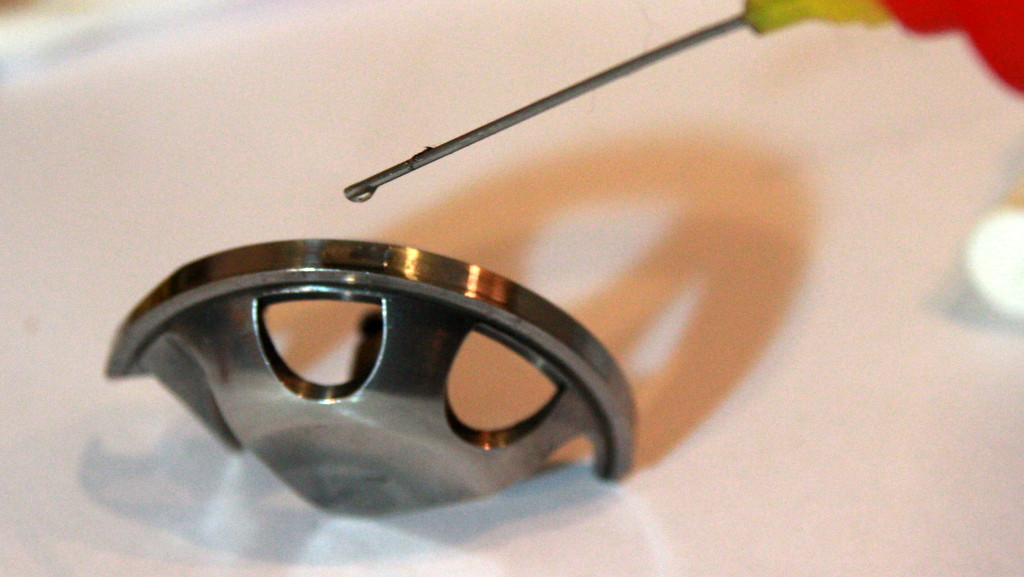
- the outside of the bobbin race where it moves inside the housing, use your finger to spread the oil if you like - for my machine oiling this part makes the biggest difference to my sewing and reduces the noise my machine makes as well.
- squeeze a bit of oil into any oil points
Oiling tips:
- if it looks rusty, oil it, wipe with a clean rag and oil it again
- if you're not sure- go ahead and oil it, it won't hurt
- avoid oil anywhere there is electronic bits or wires but they should all be inaccessible anyway.
- make sure you've cleaned up any oil drips and spills because oil on your project is not fun
- run the machine for a moment before you put your bobbin back to spread all the oil around nicely
- put your bobbin and stitch plate back
- wipe up any oil drips
- stitch on a fabric scrap until your thread comes through clean
And that's it! You're done and your machine will love you for it! It might take a bit longer if you haven't done a clean and oil for a while but soon enough it will take no time at all.
_______________________________________________________________________________
Thank you so much for letting me blog at GCC today, I'd love to see you over at my blog Purfylle, you might like to check out my new series Maintenance Monthly.
Stella Lee


Comments
Post a Comment
I LOVE..LOVE...LOVE...comments from you! It truly makes my day! So, leave a comment AND your webpage or social media link and I will get back with you. Thanks in advance!!
~Gina